


5 Steps to a 5 Day Blowout

source: vogue
Getting a salon blowout is the ultimate luxurious treat for a busy lady on the go. It’s so much work to recreate salon quality results at home, and sometimes it’s just not worth the time and effort. When you spend $40 to get your blowout the question then becomes, “How can I look like this every day?”
Well, what if I told you that you could extend your salon blowout for up to 5 days? Sound good to you? Read on for hair nirvana...

source: Regard Magazine
Step 1: Get your Arsenal of Tools Ready to Go
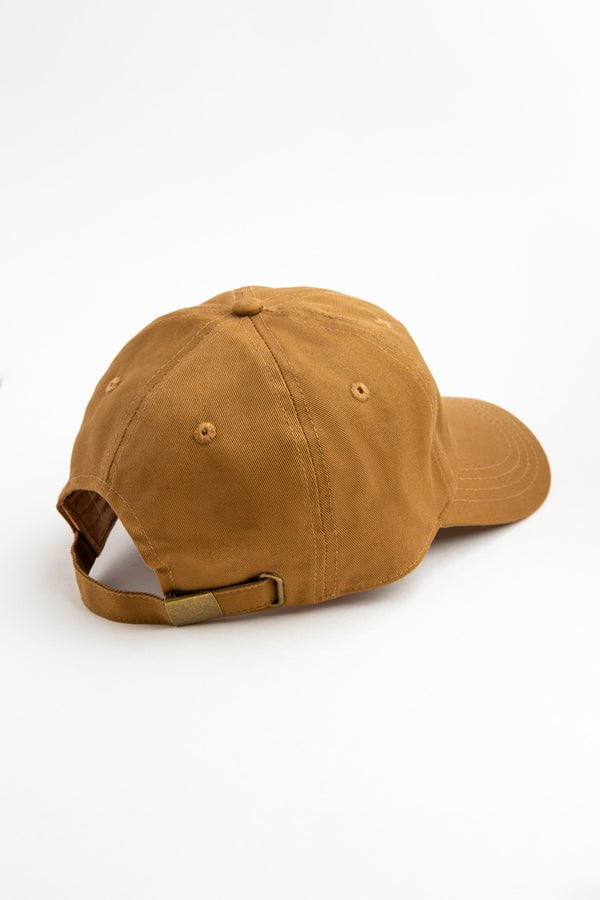
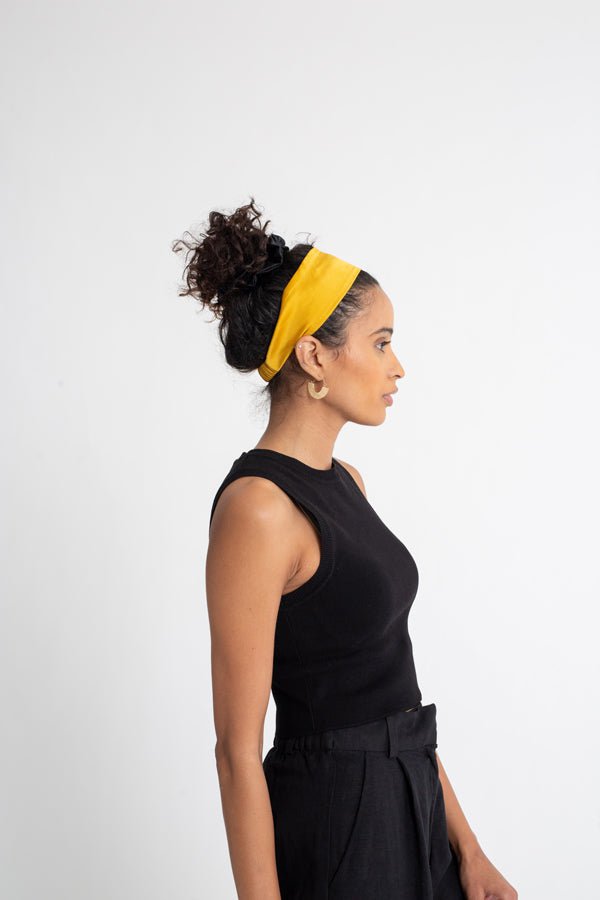
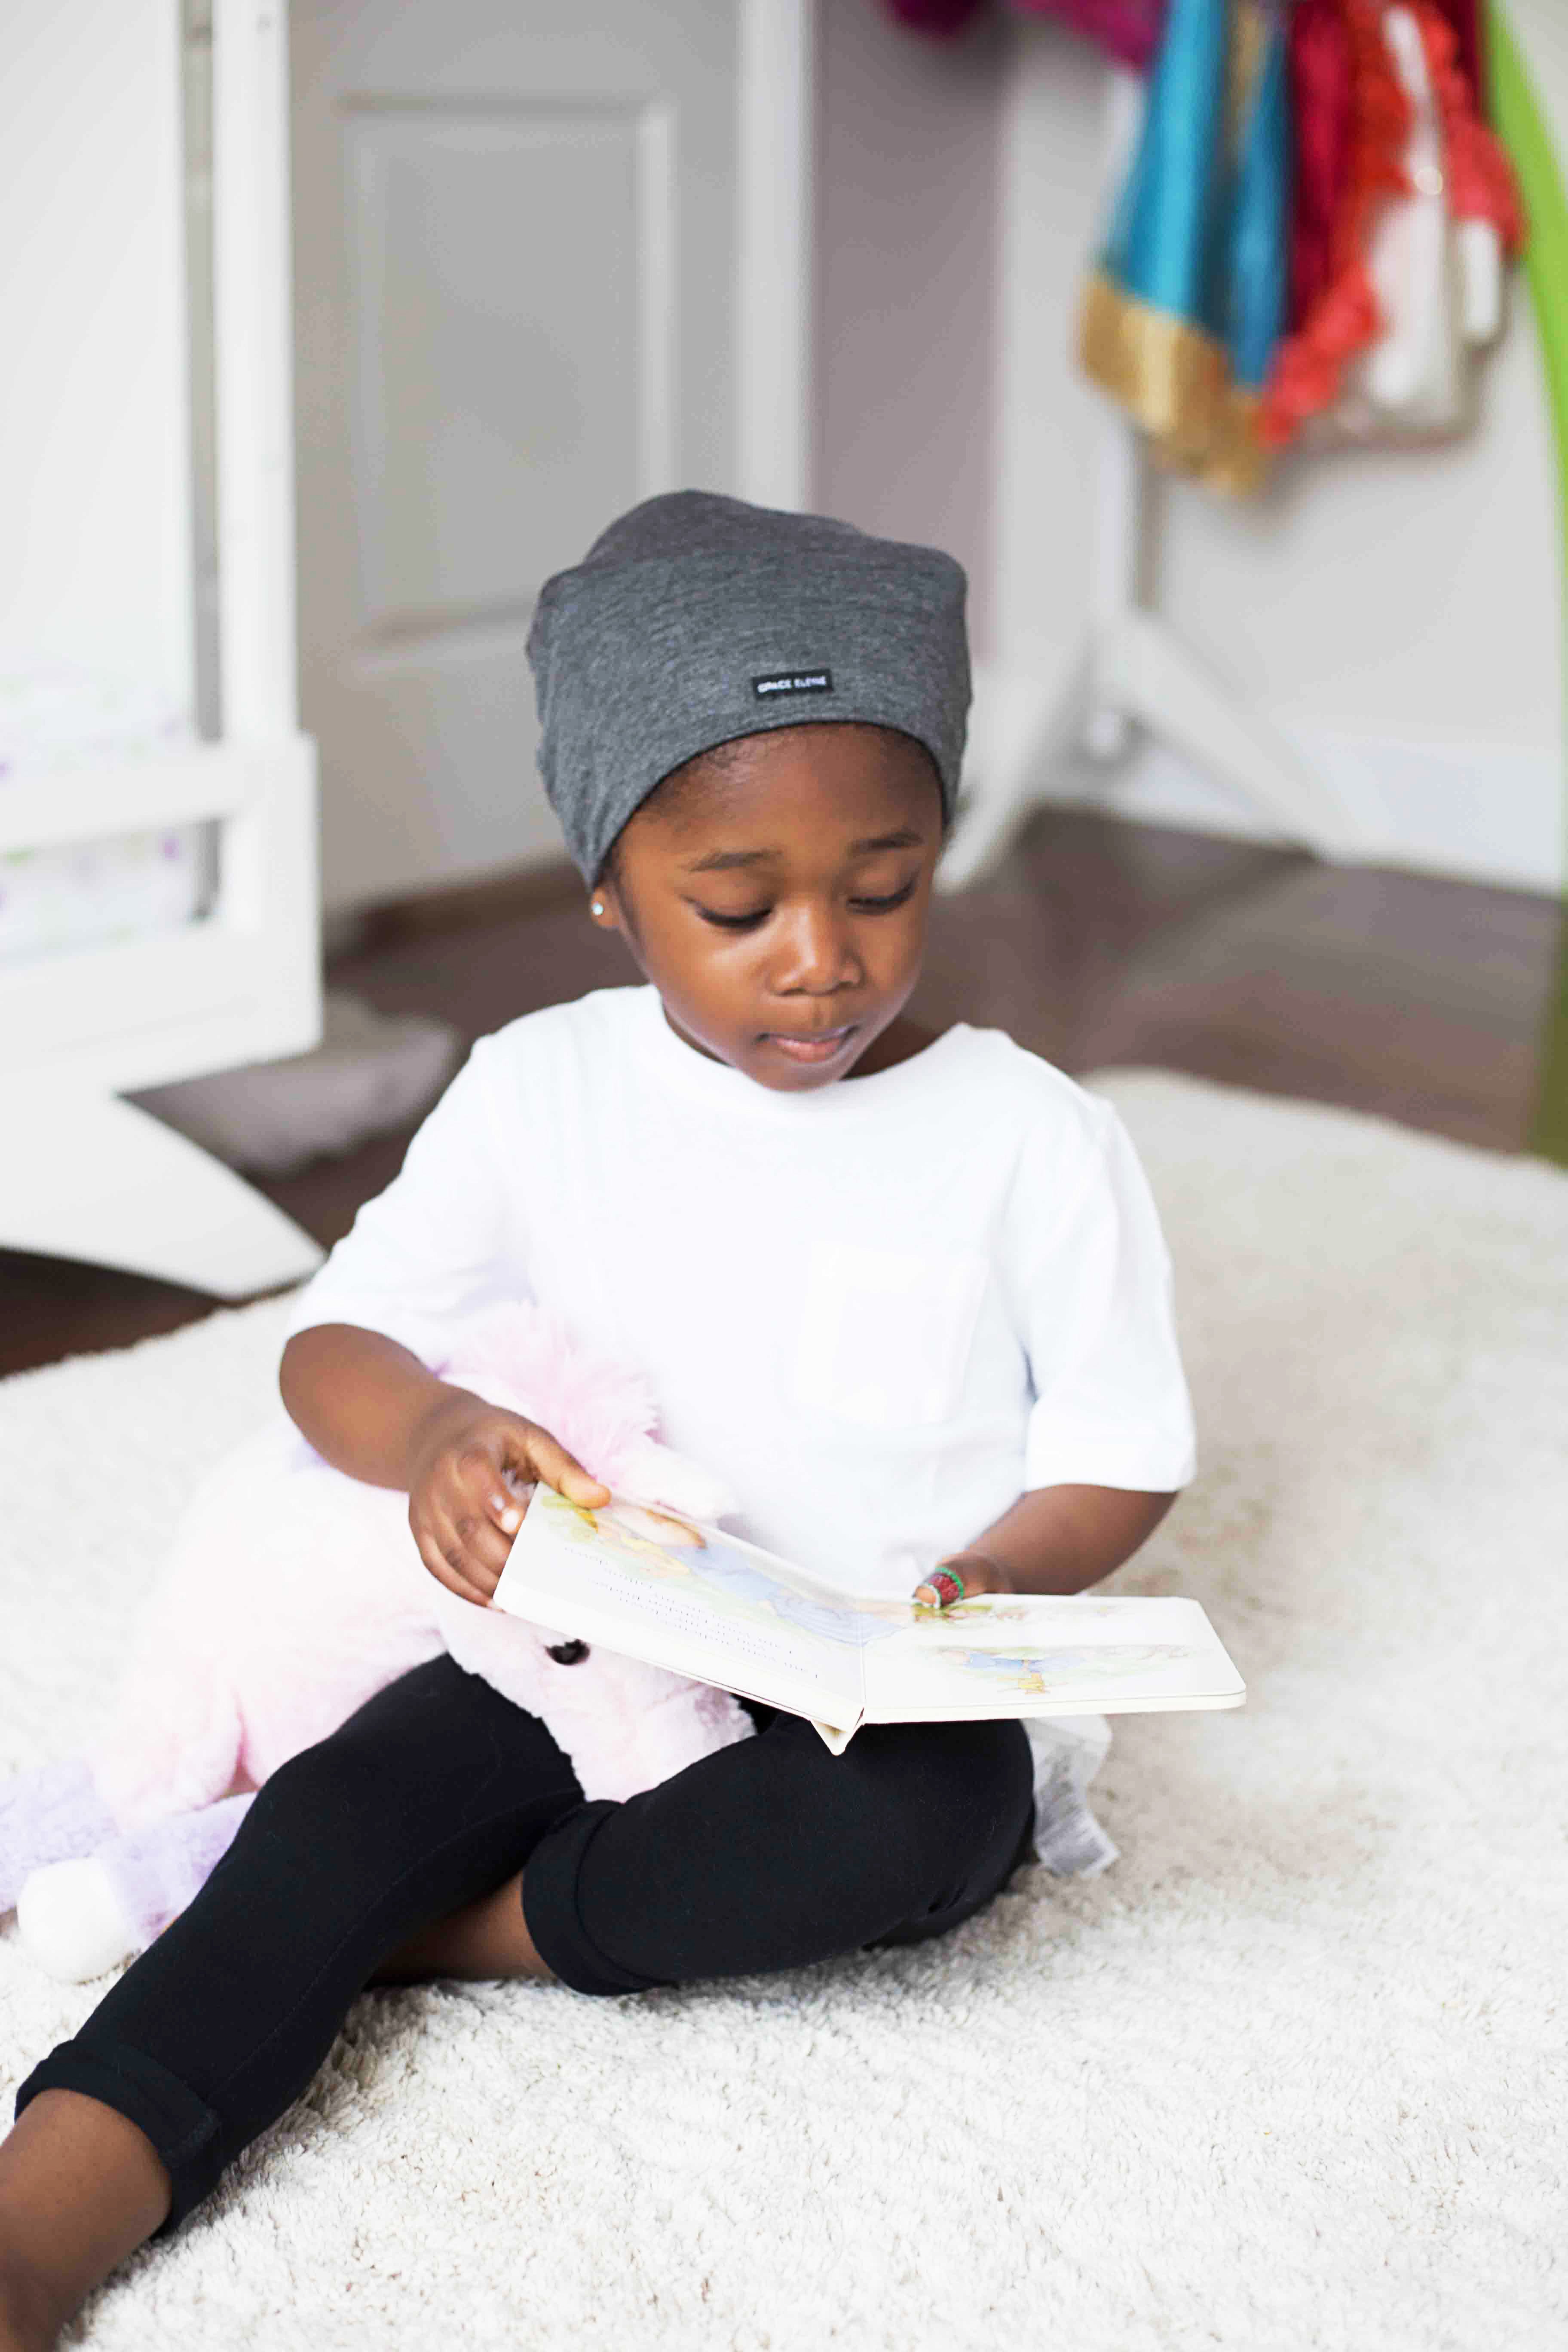
If you want to look like you’ve just come from the salon on days 2-5 of a blowout, you’re going to need the best tools. Here’s your list:

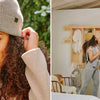
Step 2: Optimizing Sleeping Conditions
Throughout the night, tossing and turning can turn your perfect blowout into the perfect mess.
Regular rubber bands and hair ties can break hair, put stress on strands and produce those totally unnatural creases in your hair - destroying a perfectly excellent blowout. This is where the scrunchie comes into play. Wrap your hair into a loose bun, low on the neck, and secure gently with the Satin Scrunchie.
The next step is to assess the climate in your room. Is there a window open letting in humid air? Humidity is the main cause of hair frizz. So, if you can live with it, shut that window (your hair will thank you).
The final step to keep everything lookin’ good is the SLAP. The satin lining of the cap will keep your strands frizz free, moisturized, and smooth until morning. The cap stays in place throughout the night, and you’ll wake up lookin’ like the same sassy lady that went to sleep.
Step 3: Power Shower
First, pop on that shower cap. The trick is to get all the hairs under there, and to avoid contact with any water. If you can minimize getting water near your face and neck in the shower, even better; washing your face pre-shower is the way to go here.
If you really want to take your bounce and curls to the next level, consider popping in your hot rollers under the shower cap. This will give the rollers time to do their thing while you do yours. After you’re done showering, shake that water off, especially around your upper body. Carefully remove the shower cap and let your hair down. If you used rollers, go ahead and take them out and revel in your new body and curls.

source: salon forum
Step 4: Refresh and Revitalize
Now for the down and dirty part: cleaning and restyling. First, grab your dry shampoo. If it’s a spray, separate hair into sections and spray between each one, focusing especially close to the roots. Then use a brush or a comb to spread the dry shampoo through the hair. If you’re using a powder dry shampoo, create the same sections and sprinkle the powder close to the roots. Then use your fingers to distribute the powder through the hair. Next up - freshening spray all over the head! This will give your hair a fresh scent and take away any nasty smells.
It’s hot tool time now! Grab your curling wand (or iron) and plug it in. Get your blowdryer going and - using a round brush - start to go over the front sections of your hair on a low heat. This will help smooth out any areas that may not be lookin’ so great. Then grab your wand or iron and restyle as needed.
Step 5: Rock a New Style
Once you hit the 4-5 day mark, you may be feeling like your style’s barely holding on. Have no fear, you can still work it! This is a great chance to experiment with braids, buns, and hair accessories. Hop on Pinterest, check out all the hair tutorials you swear you’ve been meaning to do but haven’t gotten around to, and try one of them out. Few-day-old hair is great for loose braids and buns because the texture makes it easier to work with.
Now you’ve mastered the art of the 5 day blowout! Rinse and repeat for next week, and breath a sigh of relief: because blown out hair just went from a two day treat, to a treat for the whole week.
Tried it out or have any questions/comments? Let us know in the comment section below. We'd love to hear what you think :)
-
Posted in
Beauty & Style, Hair - Styling Tips


Thanks for helping me learn more about blowout services. I actually didn’t know that it could be good to wrap your hair in a loose bun when you’re sleeping after a blowout service. I’m interested to learn if a salon could help give advice on how to do this, especially if they have expert advice. https://shearjoystudio.com/blowouts